Persistent Fedora Install on Ventoy
Published on Mar 29, 2024 by Kalitsune.
About Ventoy
Ventoy is an open source tool to create bootable USB drive for a variety of files. With Ventoy, you don’t need to format the disk again and again, you just need to copy the image files to the USB drive and boot them directly. You can copy many files at a time and Ventoy will give you a boot menu to select them. Both Legacy BIOS and UEFI are supported in the same way.
Ventoy is also based on grub wich makes it very light compared to other multi-boot utilities like multisystem that load an entire OS before boot.
Installing Ventoy
You can grab the latest release of Ventoy from their website, just pick the version that suits your OS and download it. Once you have the file, extract it and run the Ventoy2Disk.exe or VentoyGUI file (depending on your OS). You will be greeted with a window like this:
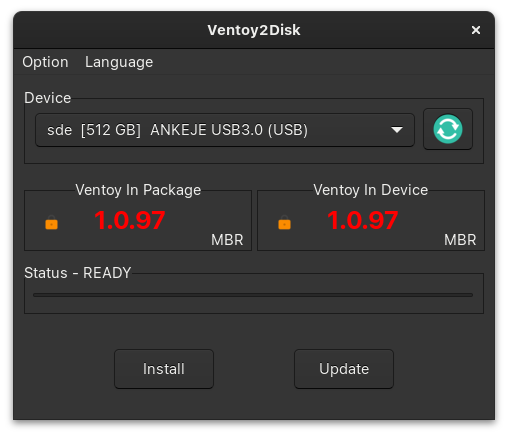
Select the USB drive you want to install Ventoy on and click install. Once the installation is done, you can copy your ISO files to the USB drive and boot from it.
You can do the same for the Fedora ISO, but if you want to make it persistent, you will need to do some extra steps.
Making Fedora persistent on Ventoy can be a bit confusing because of the lack of documentation.
However, it is fairly easy!
Just follow these steps:
Making your system Persistent
This part is already fairly documented so if you already made your ISO persistent using the Persistence plugin you can skip up ahead to Making Fedora Persistent
If you haven’t configured your persistence plugin just yet you can continue reading as the entire process is documented here:
Creating a persistence file
Live linux distros are designed to be run from a read-only medium, so to make them persistent, you need to create a persistence file. This file will store all the changes you make to the system.
To get a persistence file you have two options:
- Create one yourself
- Download a pre-made one
Downloading a pre-made one is the easiest way, but they’re generic and might not suit your needs perfectly.
You can learn how to do one or the other in the following sections.
Downloading a pre-made persistence file
Downloading a pre-made persistence file is really easy since Ventoy provide custom persistence files on their GitHub.
Just download the latest image.zip file and extract it. You will find a collection of persistence files in various sizes.
For Fedora, you’ll need to pick a vtoycow file. If you’re setting up another distro, you can check which file you need on the Ventoy website (reading the Label row).
The next section is dedicated to creating a persistence file yourself so you can just skip to Configuring the persistence file
Creating a persistence file yourself
Please note that the following steps are realised on a linux system, if you are on Windows, you can use a live distro like Ubuntu to do the following steps.
In this tutorial we’ll be using the CreatePersistentImg.sh script provided by Ventoy.
First, download the script and make it executable:
wget https://www.ventoy.net/download/CreatePersistentImg.sh
chmod +x CreatePersistentImg.sh
Then, run the script with the following arguments:
# For Fedora you need to use the vtoycow label
sudo bash CreatePersistentImg.sh -s <size> -l vtoycow | Argument | Description | Default |
|---|---|---|
| -s | Size of the persistence file in MB | 1024 |
| -l | Label of the persistence file, you can check which label is required for your distro here | casper-rw |
| -t | File system type | ext4 |
| -c | Path to a persistence.conf file, required for some distros. (not Fedora though) | none |
| -o | Output file | persitence.dat |
| -e | Enable encryption, Doesn’t work with Fedora. | none |
I personally used this command:
#                                   128GB
sudo bash CreatePersistentImg.sh -s 131072 -l vtoycow -o Fedora.dat
It will create a persistance file in the same folder you’re in. Please note that the script will note print anything in the console even if working properly so just wait for it to finish (it can take a while depending on the size you specified, for me it took 1h on an SSD).
Configuring the persistence file
Grab your Ventoy installation back and run Ventoy Plugson
sudo sh VentoyPlugson.sh /dev/<your ventoy install>if everything goes normally, you should have a confirmation message with an URL appearing in your terminal:
ventoy directory exist OK

===============================================================
  Ventoy Plugson Server is running ...
  Please open your browser and visit http://127.0.0.1:24681
===============================================================

################## Press Ctrl + C to exit #####################
Open the URL and go to the persistence plugin tab:
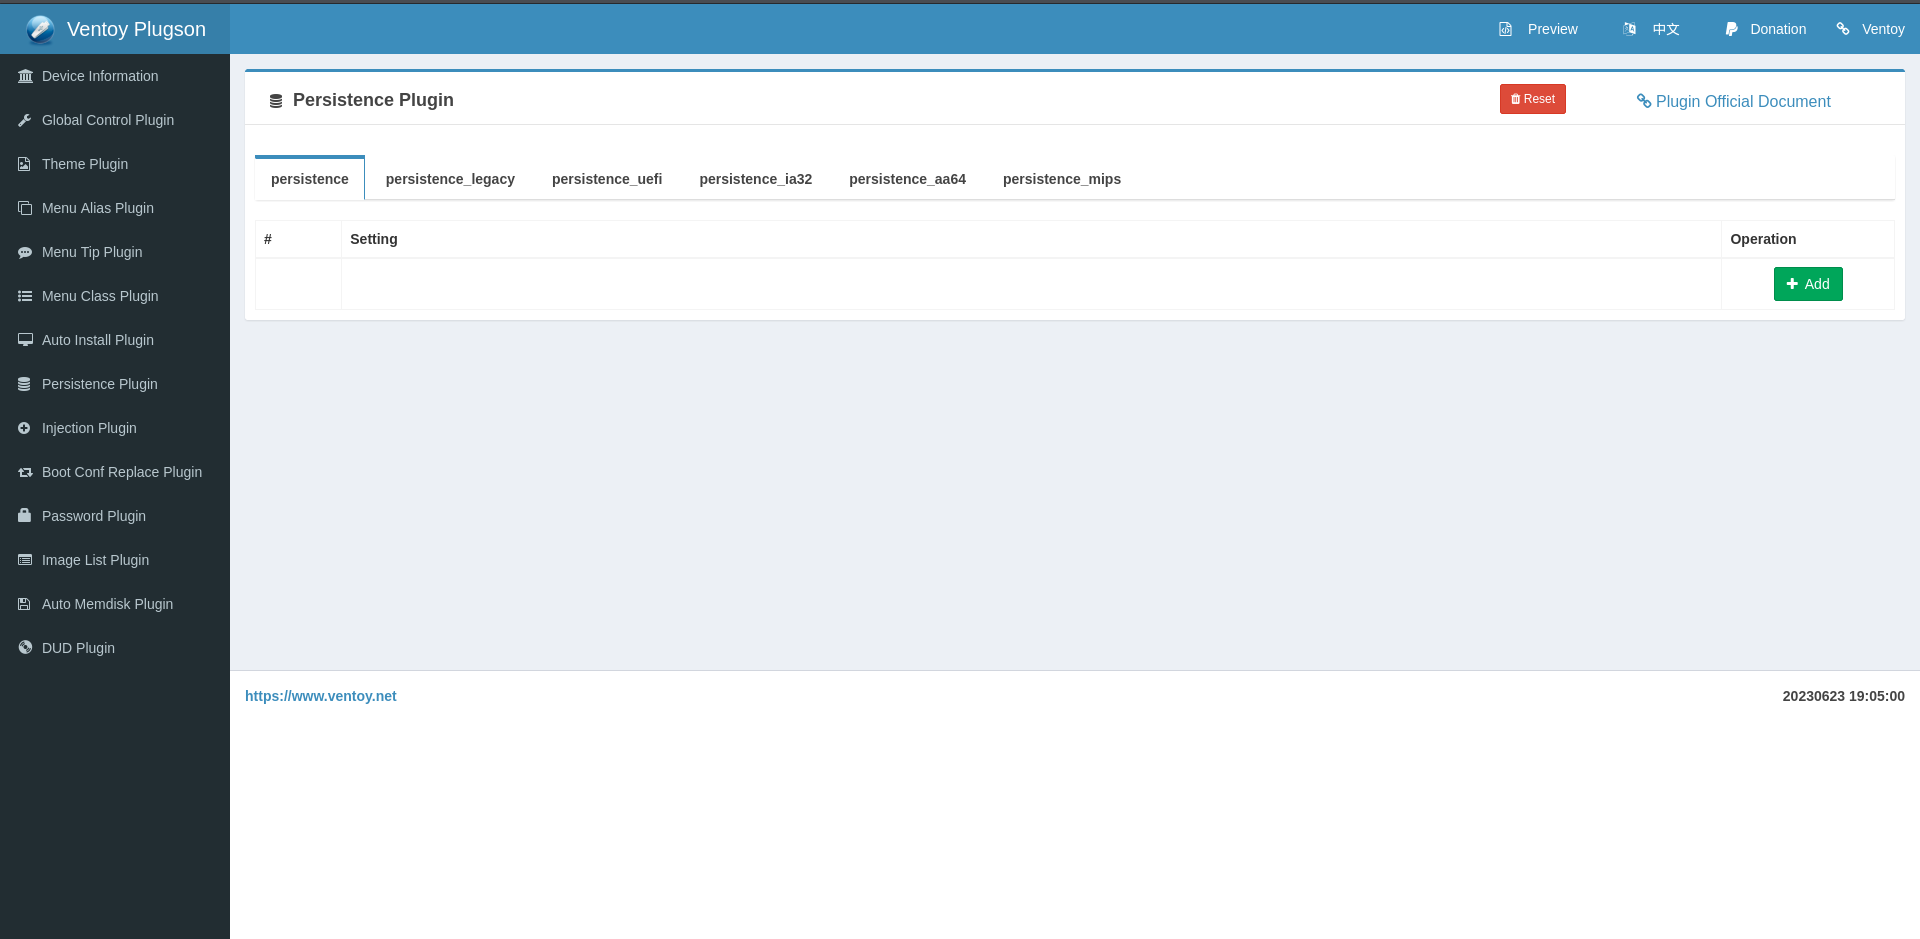
Click on add, fill the form, in my case I have my ISOs located in the /ISO/ folder and my persistence file located at /Persitence/Fedora.dat
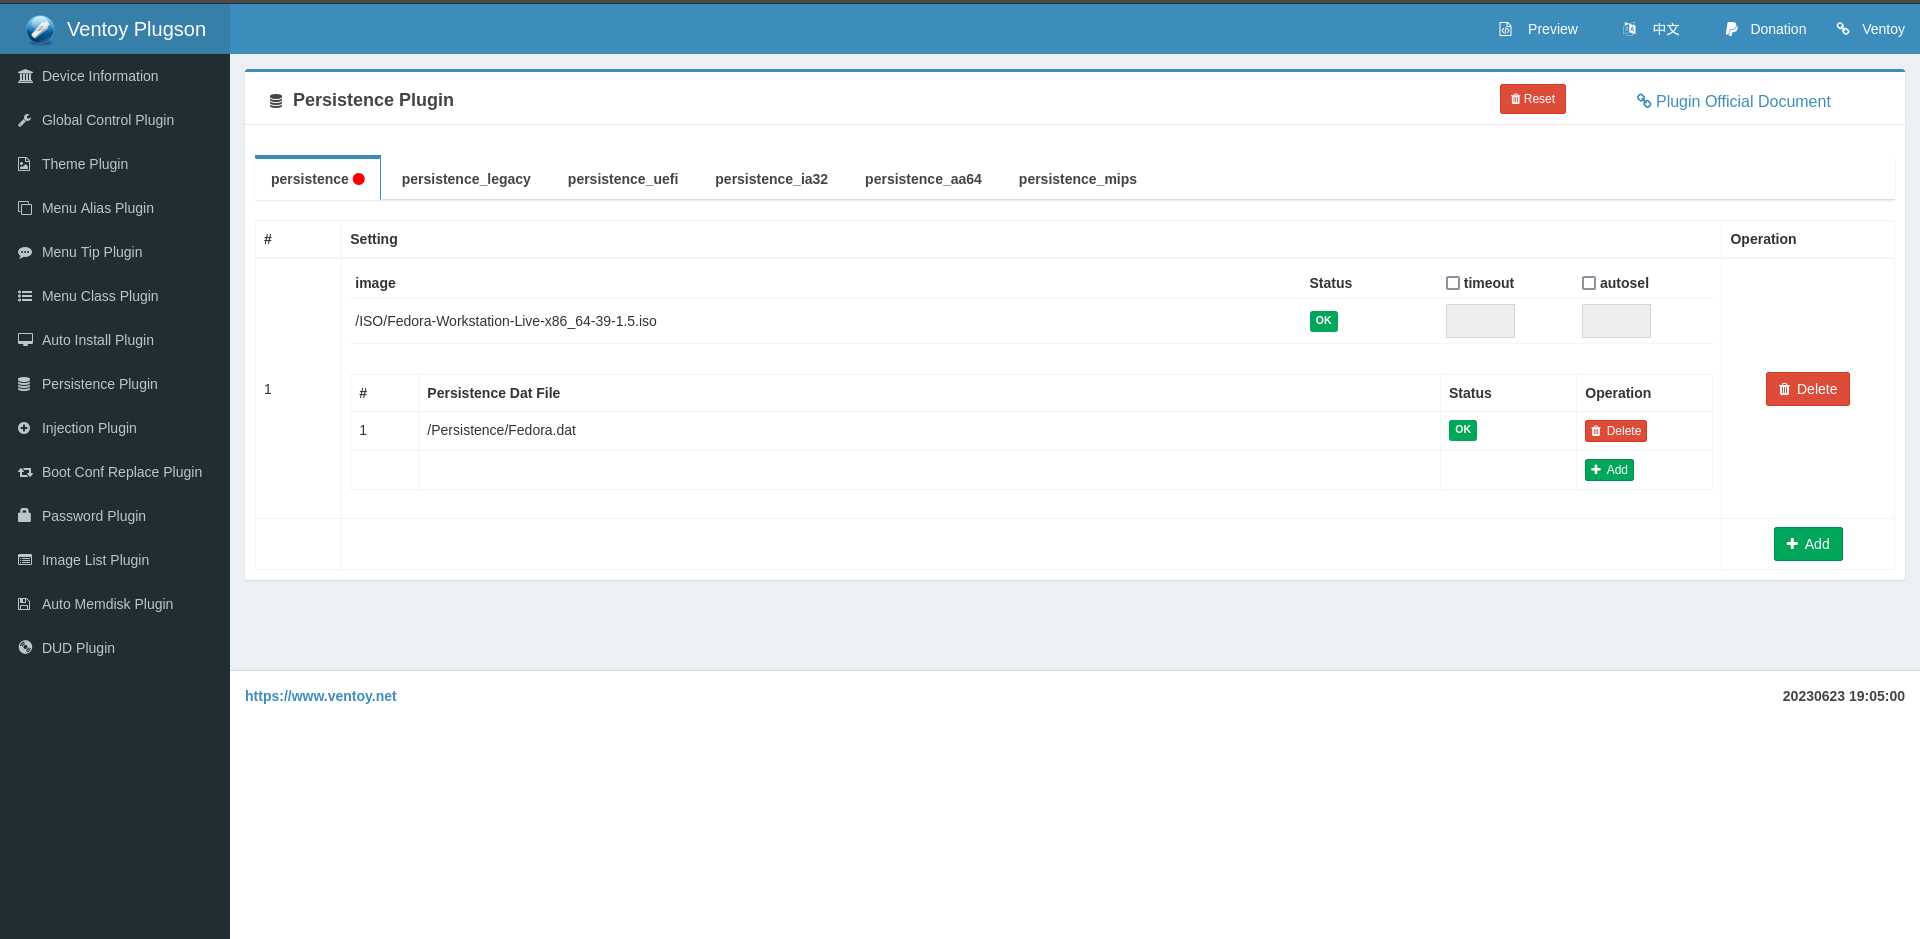
Upon completion, my form looked like that;
File Path: (where your ISO is at):
/media/fanny/Ventoy/ISO/Fedora-Workstation-Live-x86_64-39-1.5.isoDat File: (the path of the persistence file we created in the previous step):
/media/fanny/Ventoy/Persistence/Fedora.datConfirm, you should be left with something looking like that:
While this would usually suffice for a classic persistent system installation, this will not work on Fedora. To learn how to make it work with fedora, continue reading:
Making Fedora Persistent
While reading the Ventoy Persistence Plugin documentation, you can see that making the plugin work with Fedora requires you to “add selinux=0 in the boot option”
SELinux (Security-Enhanced Linux) is an utility that provides control access to linux. However, while it is pretty useful, it is not compatible with Ventoy, we’ll have to remove it.
But how? an ISO is supposed to be static and patching it manually would be a pain!
Thankfully, SELinux can easily be disabled by adding selinux=0 to the kernel options.
And since those are defined by a file inside of the ISO, we’ll have to use a new plugin, the Boot Conf Replace Plugin.
Getting the original boot conf from the ISO
To ensure that we do not break anything, we’ll use the original boot config as our basis.
You can skip this part if you don’t care whether your boot config is up to date or not as mine will be included in Patching the boot config file but it is still highly recommended that you follow this step.
To get the file from the ISO you’ll have to mount it to your computer. ISOs are like USB sticks but as files and mounting your ISO is like plugging it in.
On most system, mounting an ISO is just a matter of double clicking on it as if you were going to open a folder or run a program.
Your ISO should appear in your system drive list:
on fedora, the default boot loader is Grub, you’ll find the regular grub.cfg at /boot/grub2/grub.cfgand the EFI grub.cfg at /EFI/BOOT/grub.cfg
Copy both of them in a directory of your ventoy drive before moving on to next step.
Patching the boot config file
Now that we’ve extracted the boot configs from the ISOs we can edit them so that SELinux is disabled
Here’s my grub.cfg:
set default="1"

function load_video {
  insmod all_video
}

load_video
set gfxpayload=keep
insmod gzio
insmod part_gpt
insmod ext2
insmod chain

set timeout=60
### END /etc/grub.d/00_header ###

search --no-floppy --set=root -l 'Fedora-WS-Live-39-1-5'

### BEGIN /etc/grub.d/10_linux ###
menuentry 'Start Fedora-Workstation-Live 39' --class fedora --class gnu-linux --class gnu --class os {
	linux /images/pxeboot/vmlinuz root=live:CDLABEL=Fedora-WS-Live-39-1-5  rd.live.image quiet rhgb
	initrd /images/pxeboot/initrd.img
}
menuentry 'Test this media & start Fedora-Workstation-Live 39' --class fedora --class gnu-linux --class gnu --class os {
	linux /images/pxeboot/vmlinuz root=live:CDLABEL=Fedora-WS-Live-39-1-5  rd.live.image rd.live.check quiet
	initrd /images/pxeboot/initrd.img
}
submenu 'Troubleshooting -->' {
	menuentry 'Start Fedora-Workstation-Live 39 in basic graphics mode' --class fedora --class gnu-linux --class gnu --class os {
		linux /images/pxeboot/vmlinuz root=live:CDLABEL=Fedora-WS-Live-39-1-5  rd.live.image nomodeset vga=791 quiet rhgb
		initrd /images/pxeboot/initrd.img
	}
	menuentry 'Boot first drive' --class fedora --class gnu-linux --class gnu --class os {
		chainloader (hd0)+1
	}
	menuentry 'Boot second drive' --class fedora --class gnu-linux --class gnu --class os {
		chainloader (hd1)+1
	}
}
Here we can recognize the boot options that are shown to us when booting Fedora.
The linux and linuxefi commands are the ones we’re interested in, you’ll want to add the selinux=0 argument each time one of them is called.
Here’s my patched grub.cfg:
set default="0"

function load_video {
  insmod all_video
}

load_video
set gfxpayload=keep
insmod gzio
insmod part_gpt
insmod ext2
insmod chain

set timeout=60
### END /etc/grub.d/00_header ###

search --no-floppy --set=root -l 'Fedora-WS-Live-39-1-5'

### BEGIN /etc/grub.d/10_linux ###
menuentry 'Start Fedora-Workstation-Live 39' --class fedora --class gnu-linux --class gnu --class os {
	linux /images/pxeboot/vmlinuz root=live:CDLABEL=Fedora-WS-Live-39-1-5  rd.live.image quiet rhgb selinux=0
	initrd /images/pxeboot/initrd.img
}
menuentry 'Test this media & start Fedora-Workstation-Live 39' --class fedora --class gnu-linux --class gnu --class os {
	linux /images/pxeboot/vmlinuz root=live:CDLABEL=Fedora-WS-Live-39-1-5  rd.live.image rd.live.check quiet selinux=0
	initrd /images/pxeboot/initrd.img
}
submenu 'Troubleshooting -->' {
	menuentry 'Start Fedora-Workstation-Live 39 in basic graphics mode' --class fedora --class gnu-linux --class gnu --class os {
		linux /images/pxeboot/vmlinuz root=live:CDLABEL=Fedora-WS-Live-39-1-5  rd.live.image nomodeset vga=791 quiet rhgb selinux=0
		initrd /images/pxeboot/initrd.img
	}
	menuentry 'Boot first drive' --class fedora --class gnu-linux --class gnu --class os {
		chainloader (hd0)+1
	}
	menuentry 'Boot second drive' --class fedora --class gnu-linux --class gnu --class os {
		chainloader (hd1)+1
	}
}
And here’s my patched boot_efi.cfg:
set default="1"

function load_video {
  insmod efi_gop
  insmod efi_uga
  insmod video_bochs
  insmod video_cirrus
  insmod all_video
}

load_video
set gfxpayload=keep
insmod gzio
insmod part_gpt
insmod ext2

set timeout=60
### END /etc/grub.d/00_header ###

search --no-floppy --set=root -l 'Fedora-WS-Live-39-1-5'

### BEGIN /etc/grub.d/10_linux ###
menuentry 'Start Fedora-Workstation-Live 39' --class fedora --class gnu-linux --class gnu --class os {
	linuxefi /images/pxeboot/vmlinuz root=live:CDLABEL=Fedora-WS-Live-39-1-5  rd.live.image quiet rhgb selinux=0
	initrdefi /images/pxeboot/initrd.img
}
menuentry 'Test this media & start Fedora-Workstation-Live 39' --class fedora --class gnu-linux --class gnu --class os {
	linuxefi /images/pxeboot/vmlinuz root=live:CDLABEL=Fedora-WS-Live-39-1-5  rd.live.image rd.live.check quiet selinux=0
	initrdefi /images/pxeboot/initrd.img
}
submenu 'Troubleshooting -->' {
	menuentry 'Start Fedora-Workstation-Live 39 in basic graphics mode' --class fedora --class gnu-linux --class gnu --class os {
		linuxefi /images/pxeboot/vmlinuz root=live:CDLABEL=Fedora-WS-Live-39-1-5  rd.live.image nomodeset quiet rhgb selinux=0
		initrdefi /images/pxeboot/initrd.img
	}
}
I’ve saved them in Ventoy/config/Fedora/ but you can put them wherever you want.
Configuring the boot conf replace plugin
Go back to Ventoy Plugson and head to the Boot Conf Replace Plugin tab:
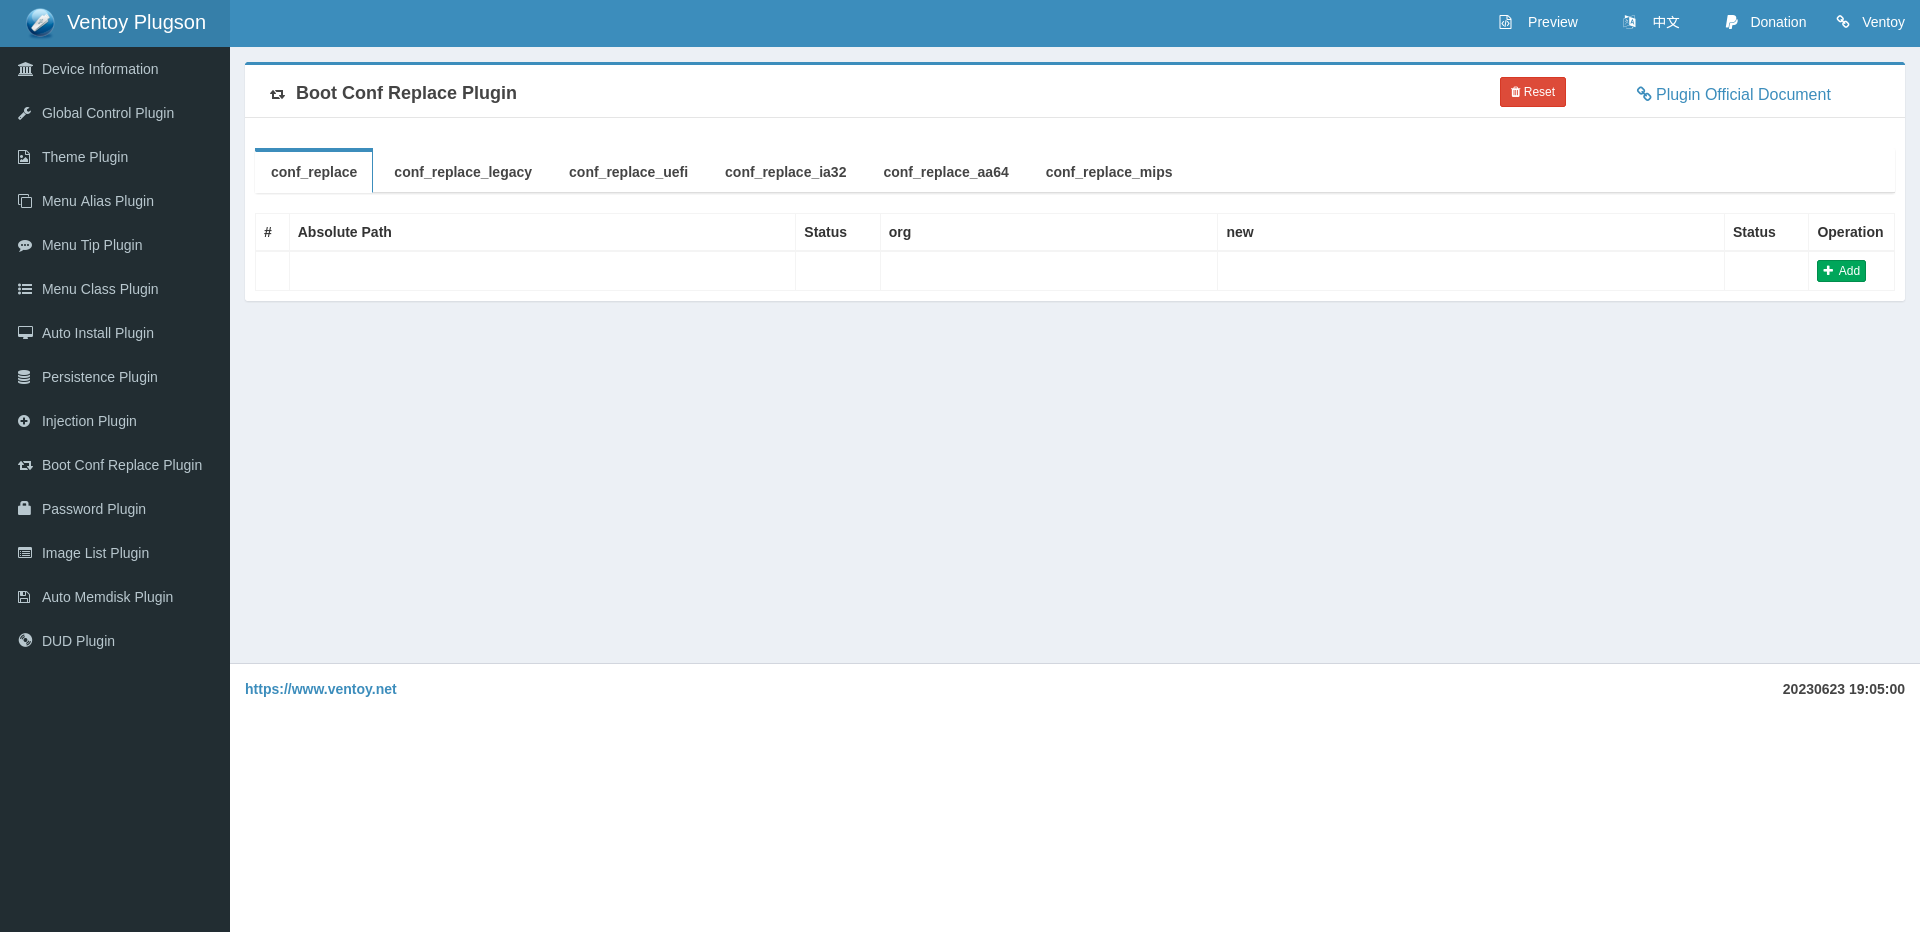
Click on Add, you’ll be prompted to fill up 3 fields, the ISO path, the path of the config you want to replace in the ISO and the path of the config you made.
Here’s how I filled them:
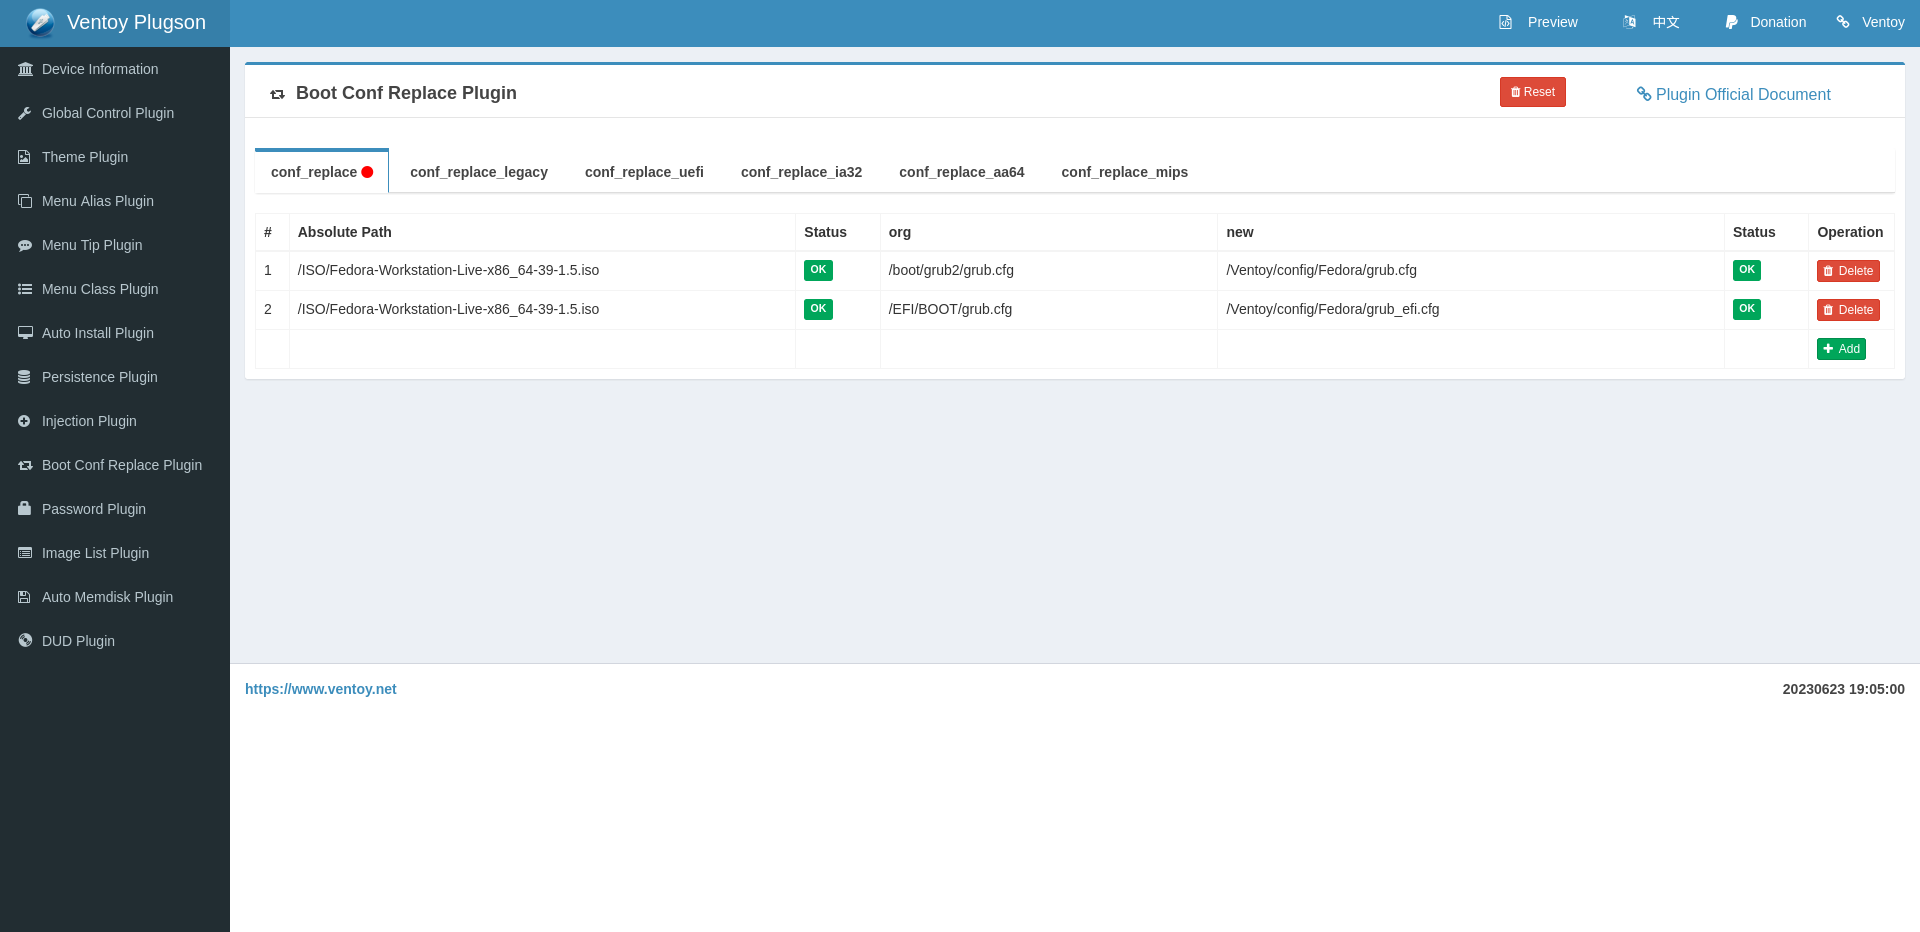
- ISO Path:
/media/fanny/Ventoy/ISO/Fedora-Workstation-Live-x86_64-39-1.5.iso- org (path of the original file)
/boot/grub2/grub.cfg- new (path of the file you want to replace it with in your Ventoy volume)
/media/fanny/Ventoy/Ventoy/config/Fedora/grub.cfgdo this operation for your EFI file as well and then you’ll be good to go:
Congratulations! Your fedora install is now persistent!
Before setuping your system, I highly recommend to you to check that the persistence is working properly by booting your ISO and making some changes to it. If you reboot and the changes are still there, you’re good to go!
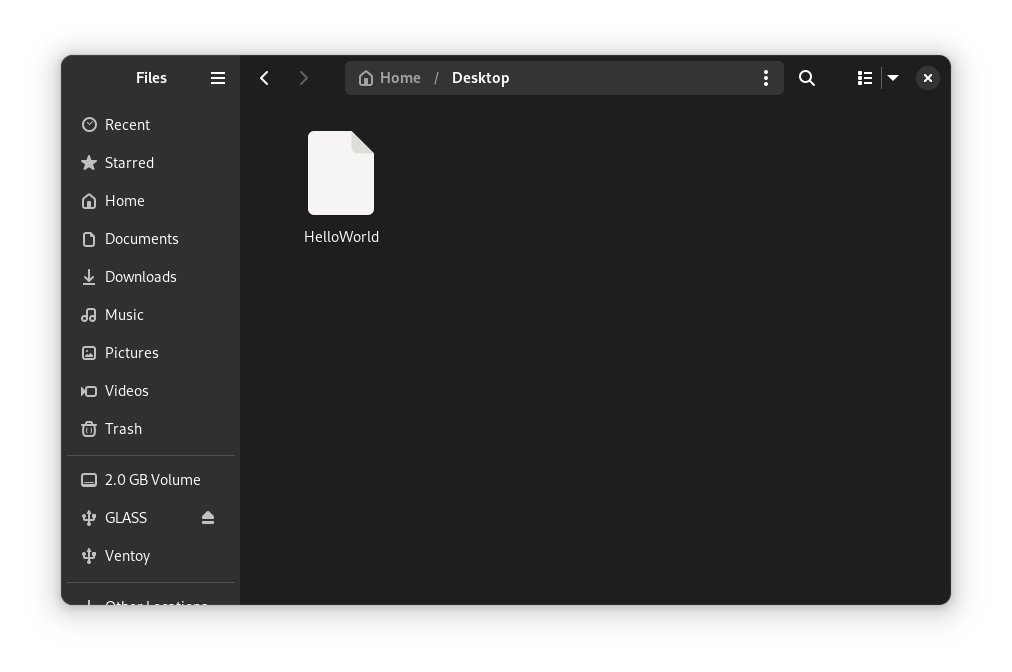
He I’ve created an hello world file on my desktop:
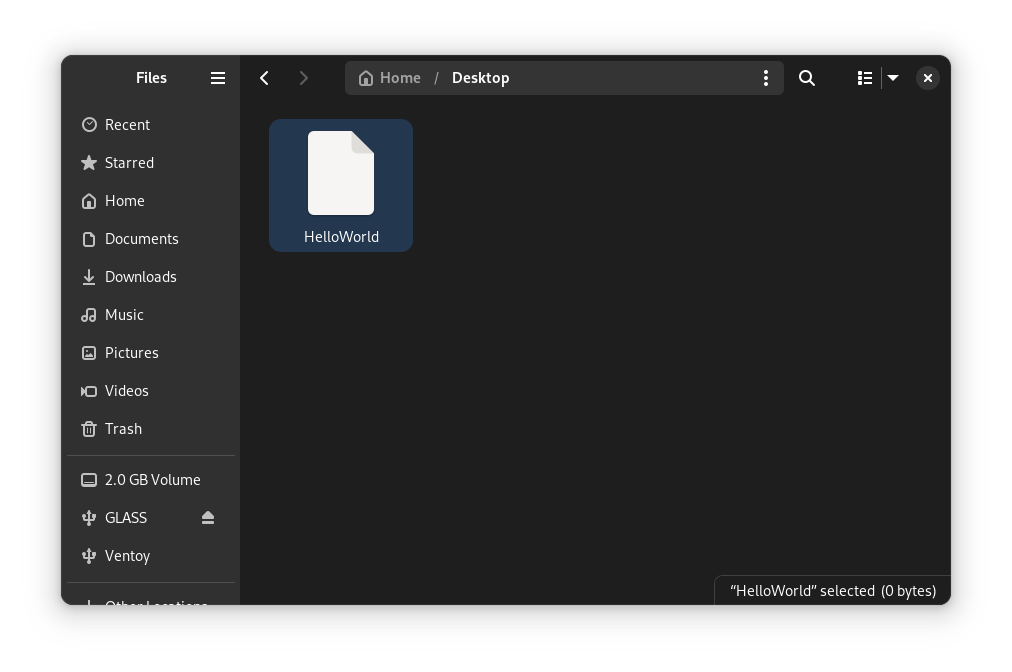
Then I rebooted and the file was still there: